Welcome to NomNom. This guide walks you through setting your venue up from scratch, in the order that works best. You don't have to do it all at once — but following this sequence means each step has what it needs from the one before.
Most of the setup lives on one screen: open the menu and tap Configuration, then work along the tabs at the bottom — Areas, Meals, Times and Tables.
1. Add your areas (rooms)
Areas are the spaces guests sit in — your main dining room, a bar, a terrace, a private room. Start here, because tables live inside an area. Most venues have one or two to begin with; you can always add more later.
In the app: Configuration → Areas tab.
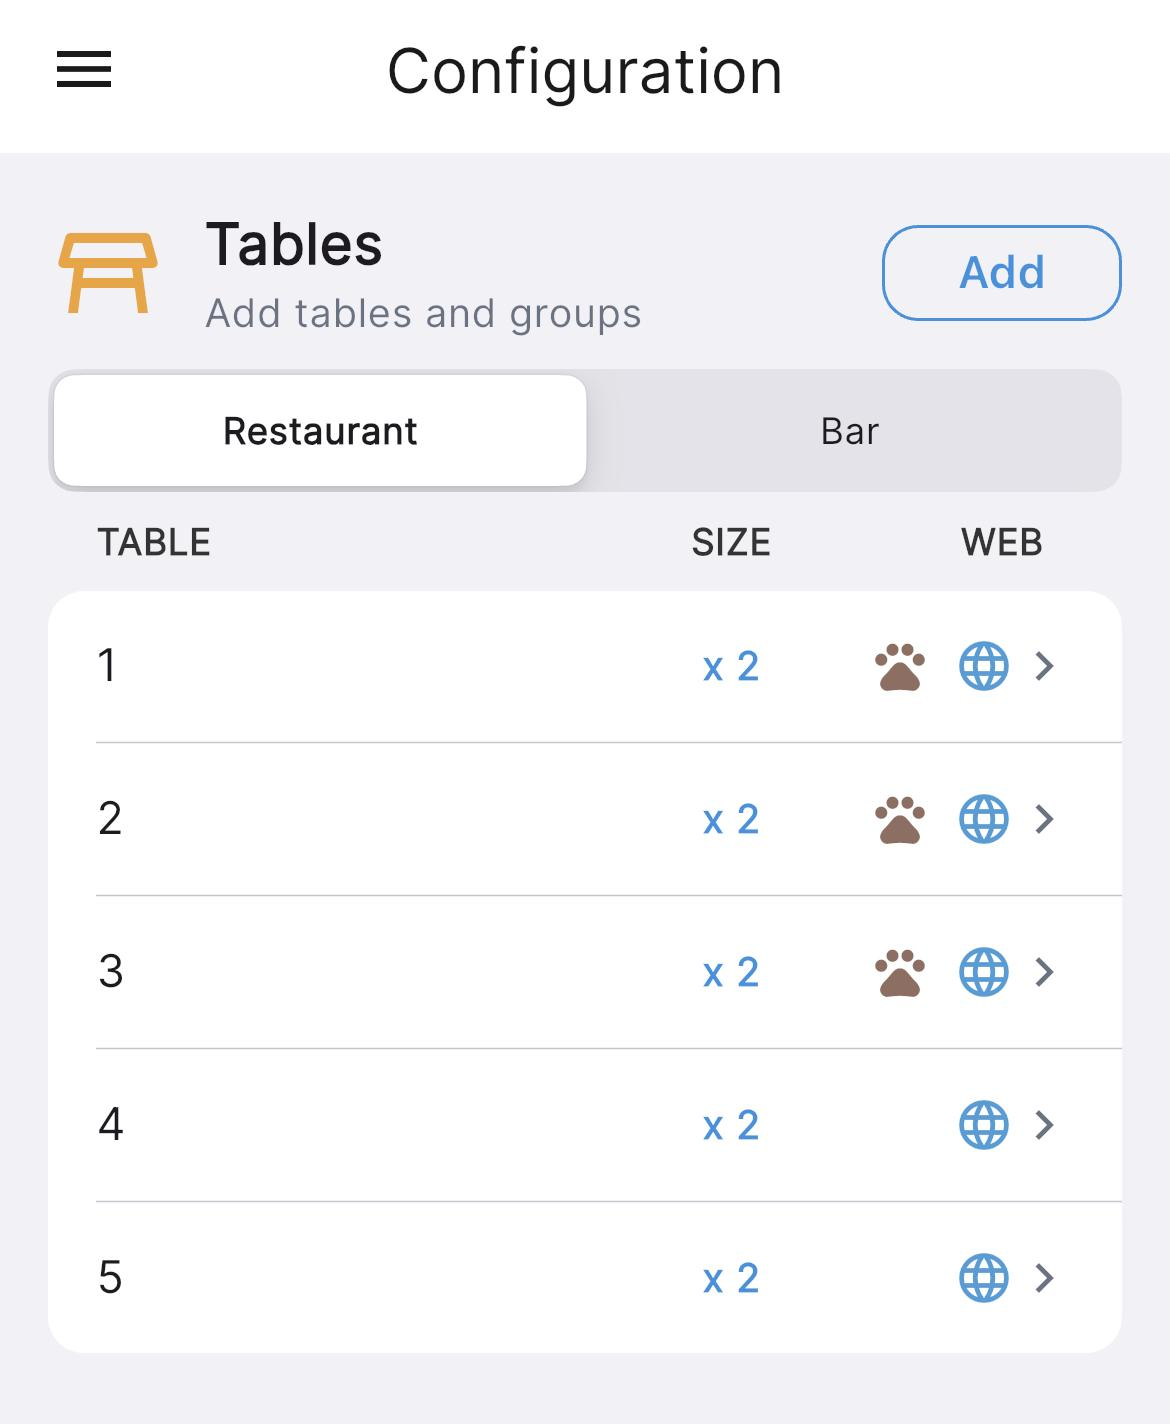
2. Add your tables
Within each area, add your tables and set how many people each one seats. A couple of things worth setting now:
- Capacity — the smallest and largest party each table comfortably takes.
- Online availability — whether a table can be booked online.
- Dog-friendly — flag any tables where guests can bring a dog, if you offer that.
In the app: Configuration → Tables tab (tables are grouped under their area).
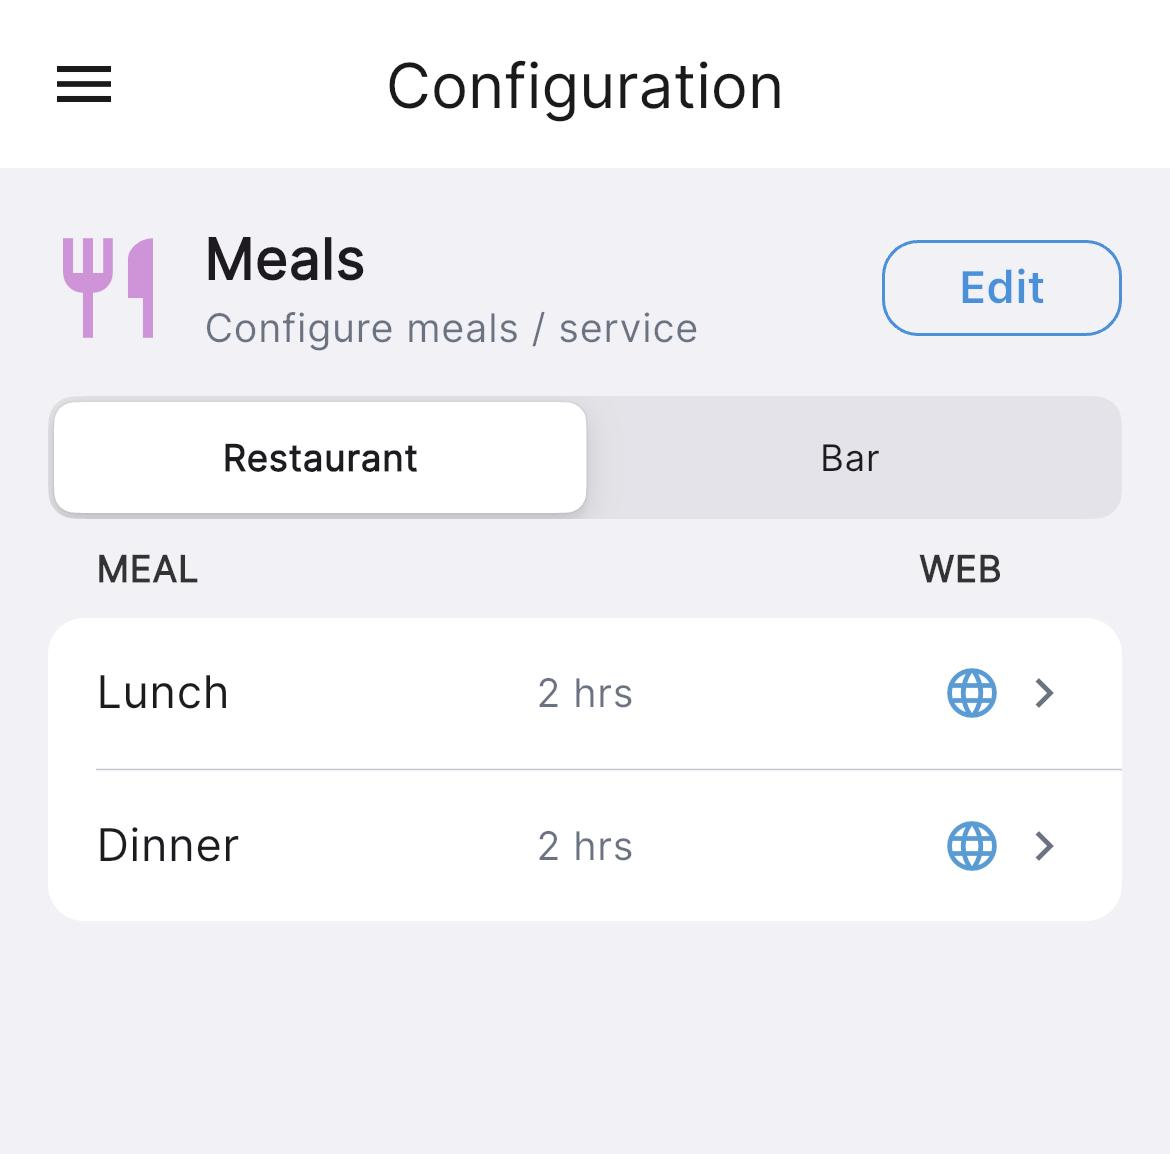
3. Create your meals and sittings
Meals (or sittings) are the services you take bookings for — lunch, dinner, a Sunday roast. Each meal has its own times, so guests booking dinner only see dinner slots. Set up the meals you run on a normal week first.
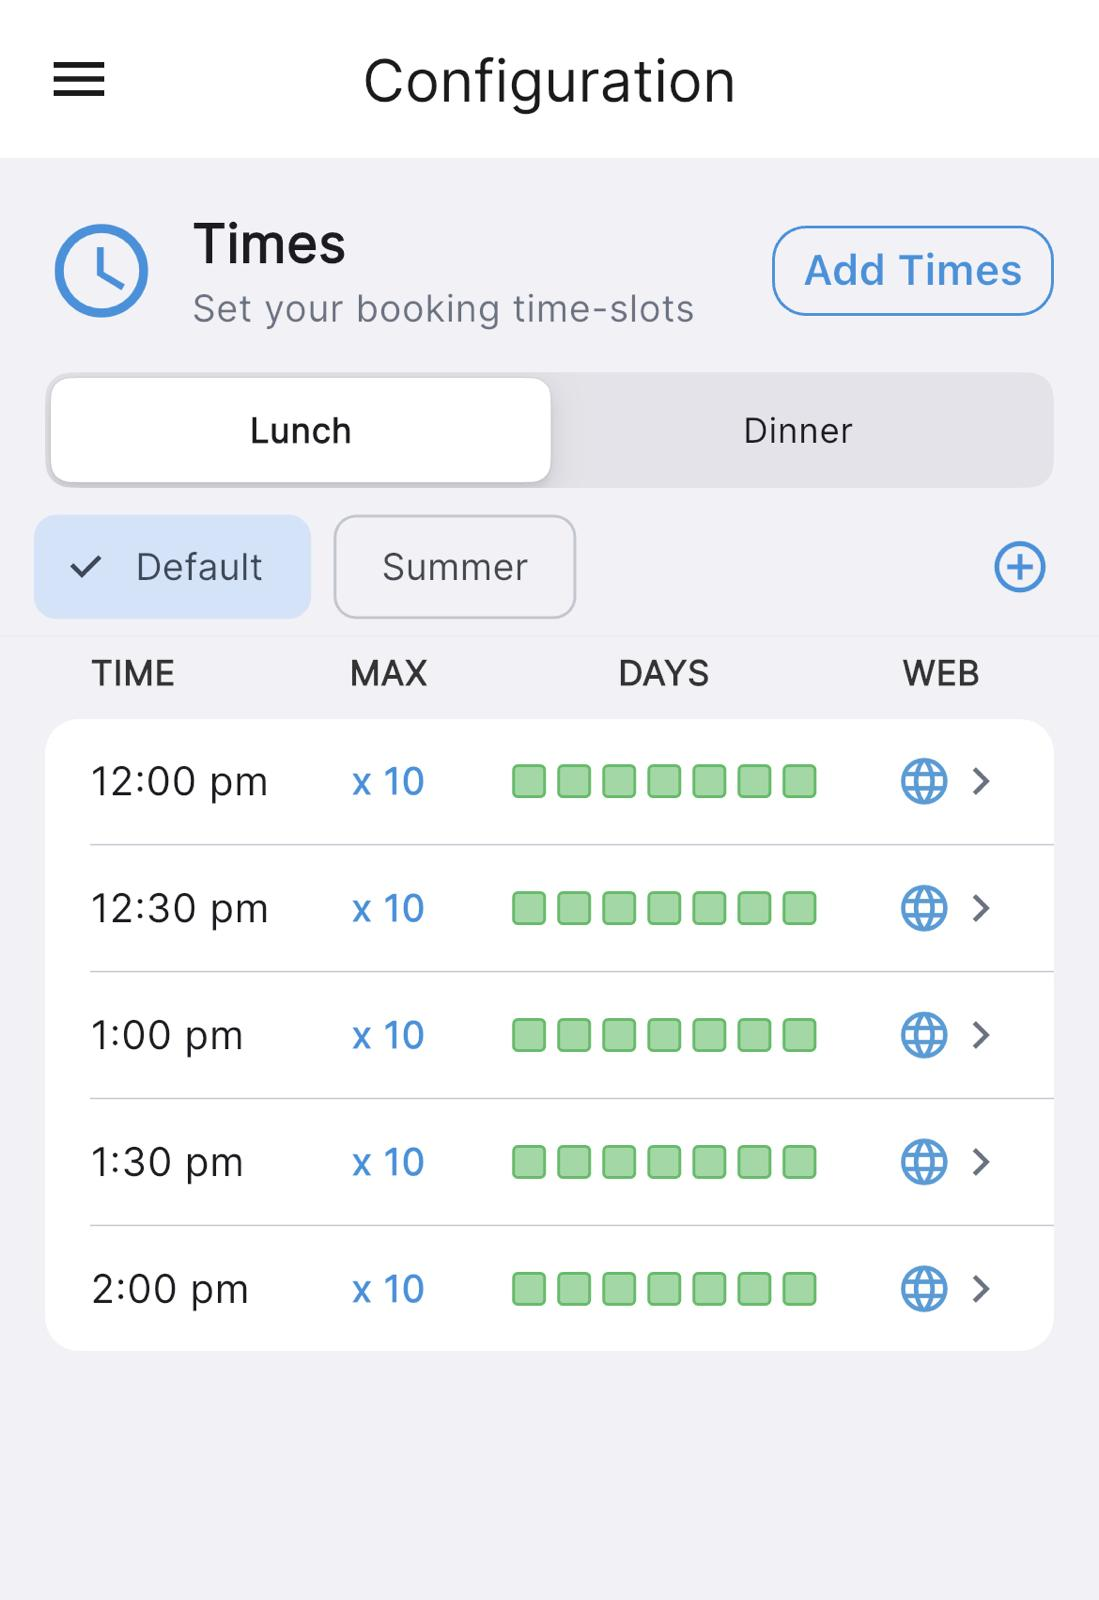
4. Set your times and schedule
Tell NomNom when you're open for each meal by adding time-slots — the times guests can book, and how many guests each slot can take.
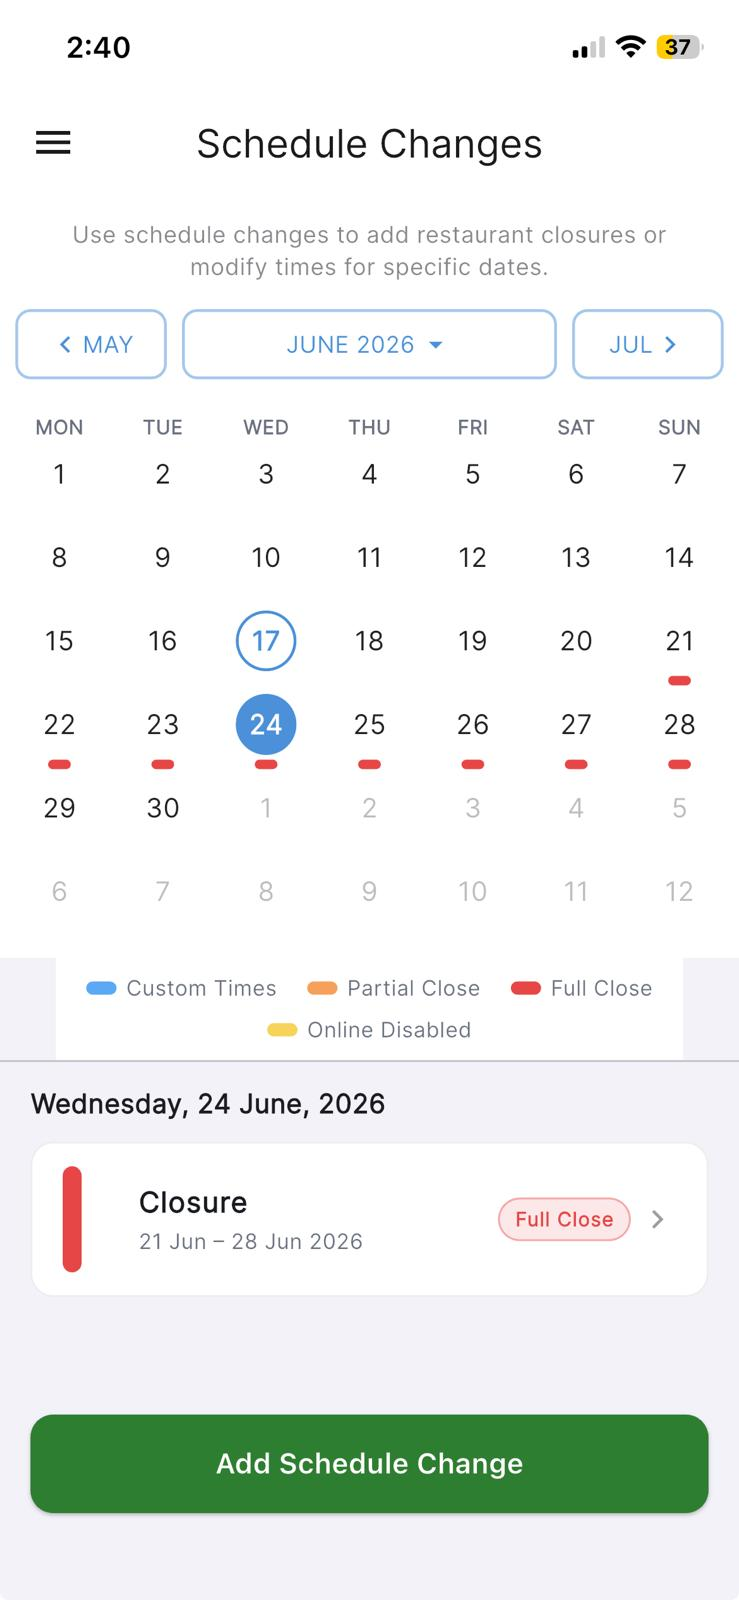
Once your normal week is in place, handle the times real life happens on the Schedule Changes screen:
- Closures — bank holidays, a private hire, a week off.
- Special times — a one-off late opening or an early festive sitting.
A schedule change for a specific date always takes priority over your normal weekly pattern.
In the app: open Schedule Changes from the menu.
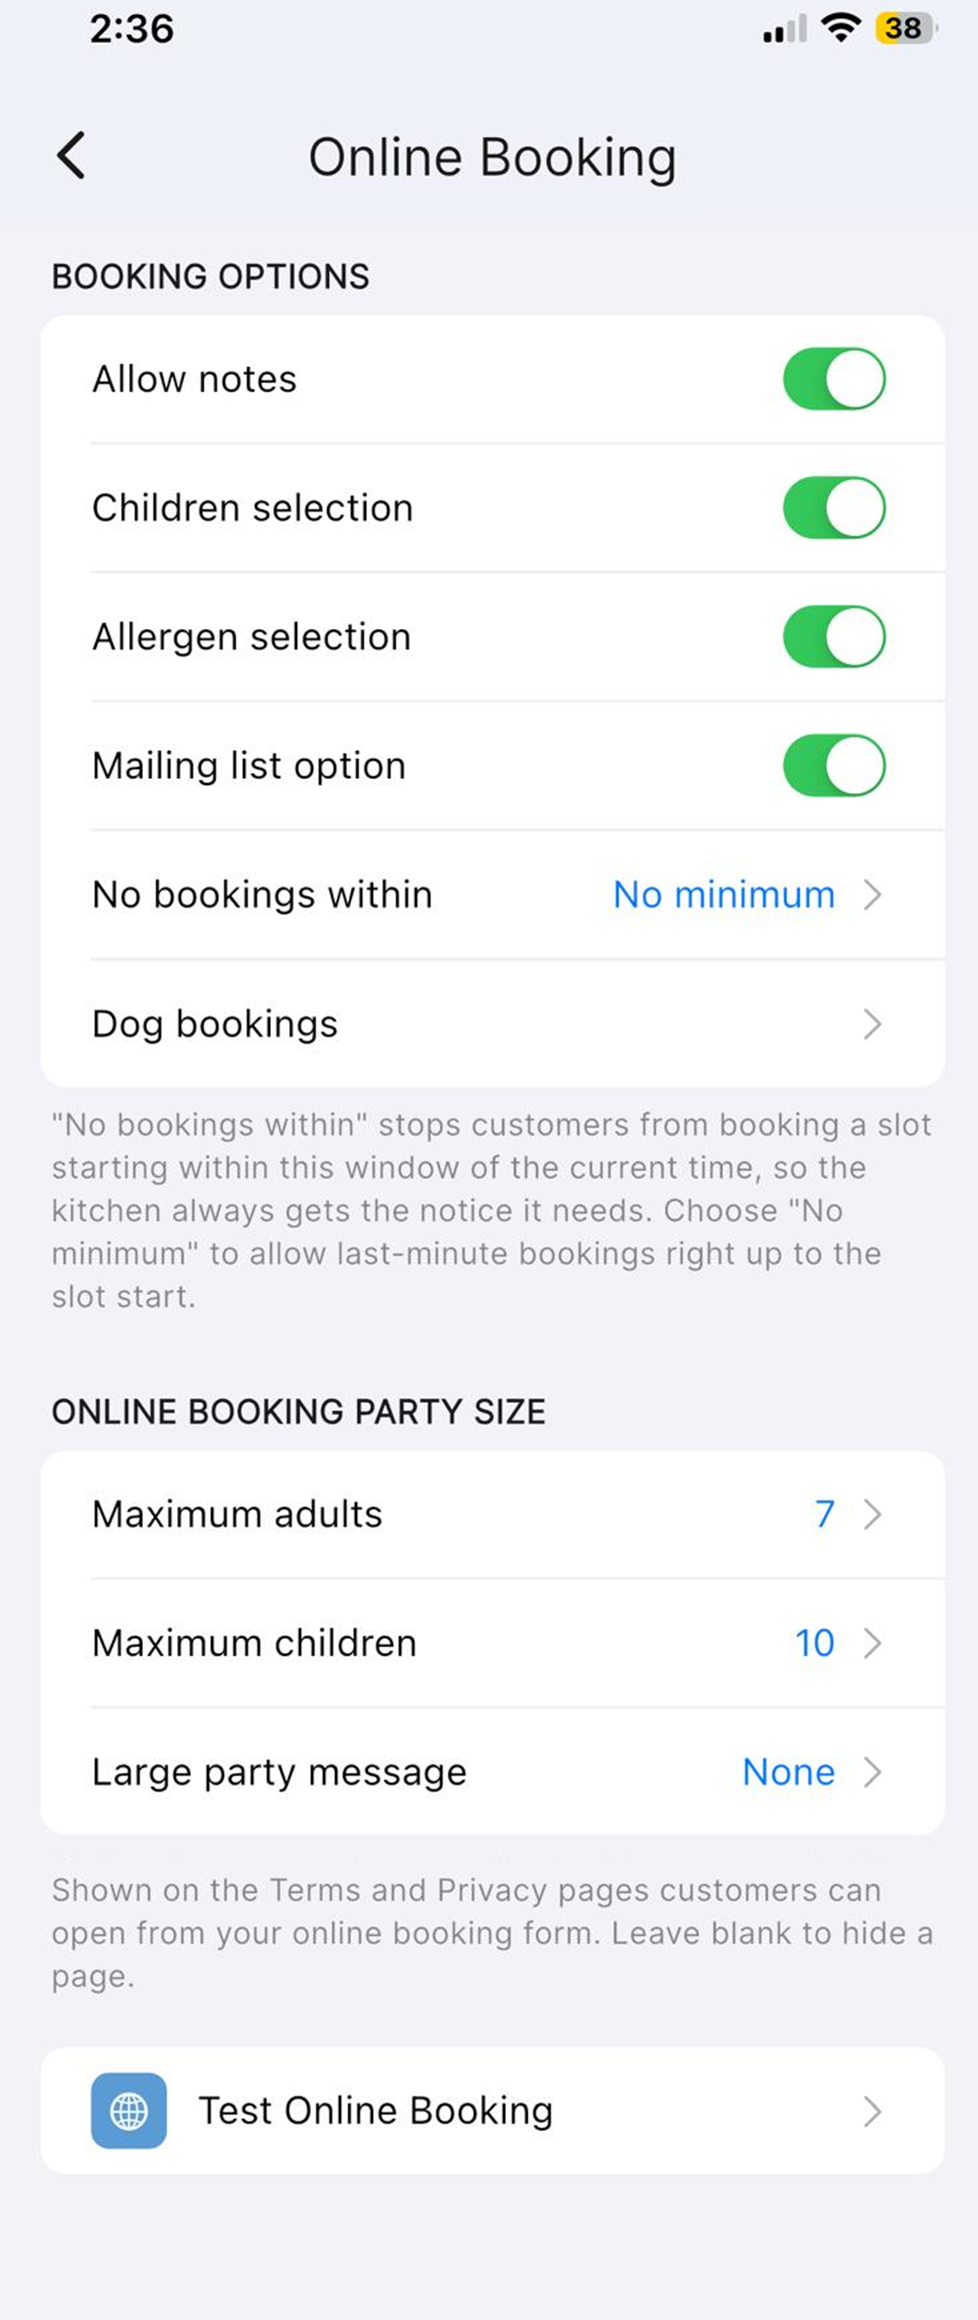
5. Switch on online booking
With your areas, tables, meals and times in place, you're ready to let guests book themselves in. Open Online Booking in Settings, turn it on, and tailor the booking page — header photo, description, party-size limits and your terms. When you're ready, use Test Online Booking to open your live booking link and share it with guests; they'll see live availability and land straight in your diary.
In the app: Settings → Online Booking (then Test Online Booking for your public link).
6. Optional: deposits and card details
If you'd like to reduce no-shows, you can ask guests to pay a deposit or leave card details when they book — and apply it only to the meals or days where it matters, like weekend dinners. This is set up in your online-booking and payment settings.
You're ready
That's the foundation. From here, explore the rest of the Knowledge Base for the detail on each area, or just take your first booking and get a feel for the diary.